
How to Fix a Snag in a Knit
REPAIR
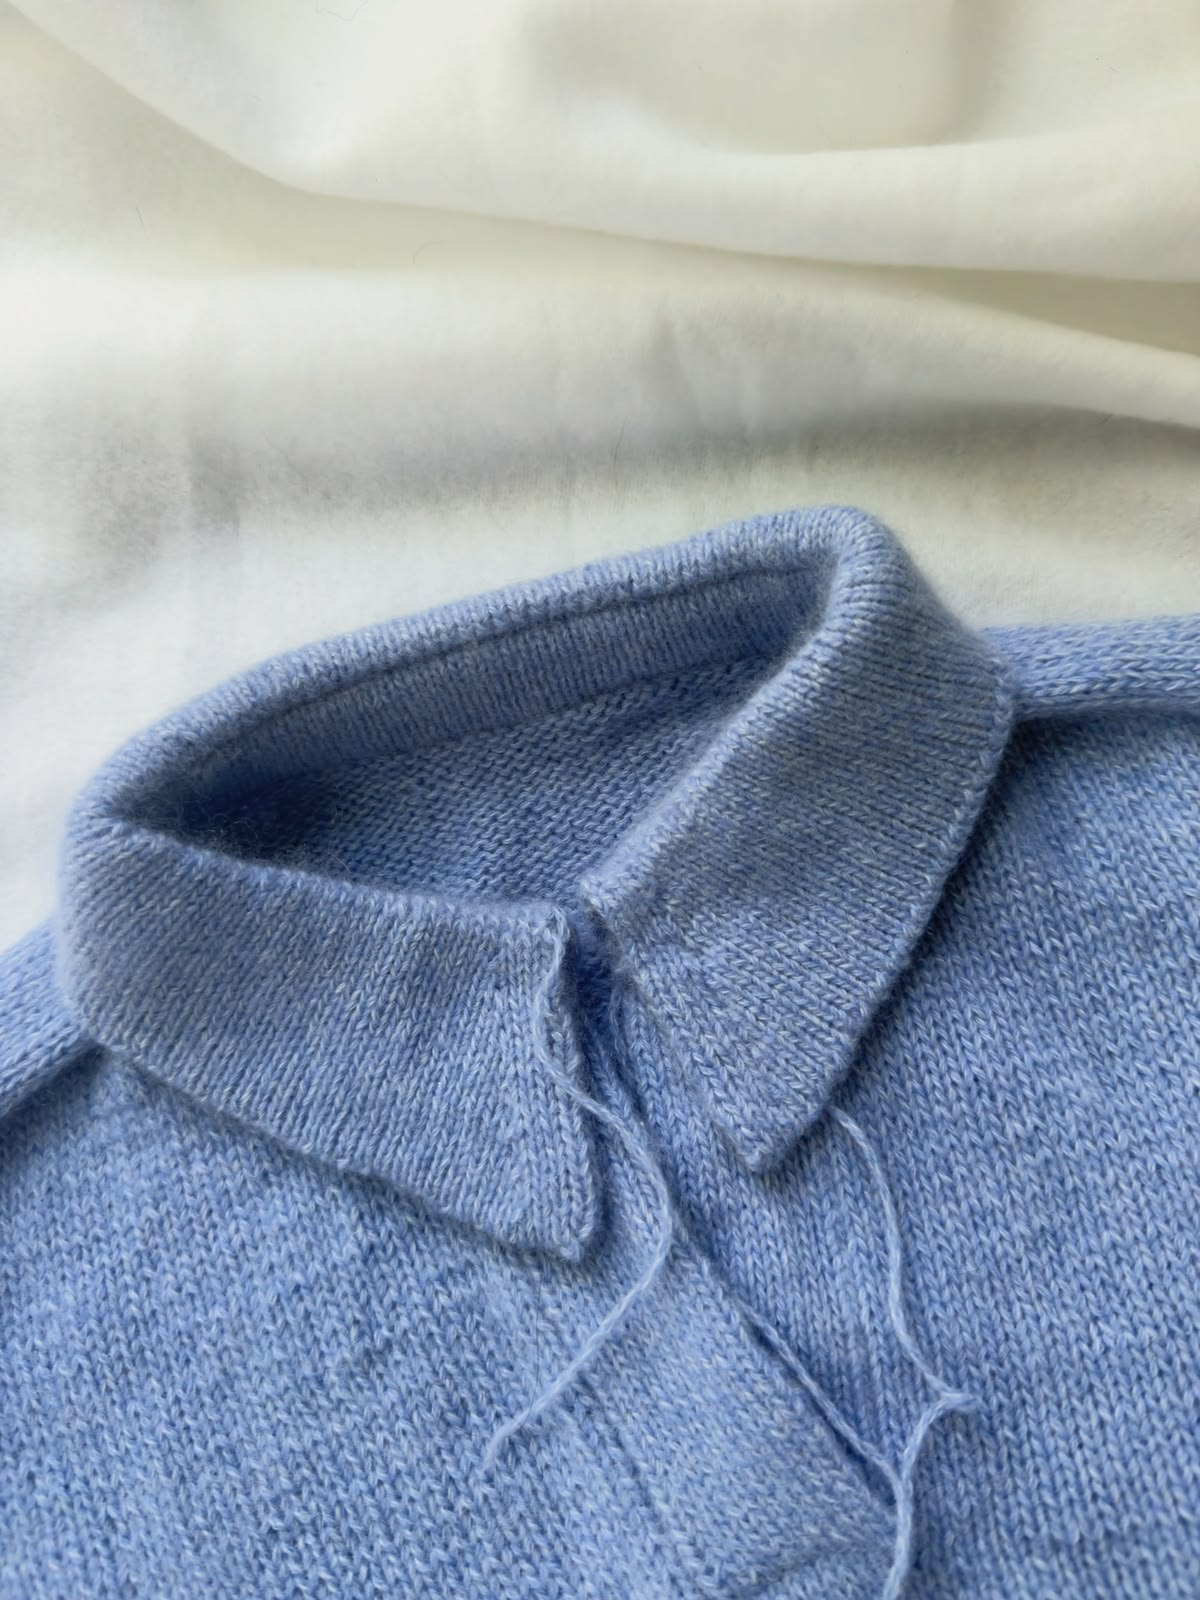
A snag looks worse than it is. A long loop standing up off the surface, a puckered line running away from it in both directions, and the immediate instinct to reach for scissors. Do not. A snag is borrowed yarn, not lost yarn, and in most cases it can be put back where it came from in under five minutes.
Why It Happens at All
A knit is one continuous strand looped through itself. Pull any point of that strand and it does not break; it slides, taking length from the stitches on either side. That is what the puckered line is. The stitches next to the snag have gone tight because their yarn is now standing up in a loop.
This is also why cutting is the one move that turns a repairable pull into a real problem. Cut the loop and the continuous strand becomes two ends, and the stitches around it have nothing holding them.
What You Need
A blunt tapestry needle with a large eye, or a small latch hook sold for exactly this job. Blunt matters, because a sharp point splits the yarn instead of passing between the loops.
The Repair
- Turn the garment inside out and find the snag from the back, so you are pulling the loop away from the visible side.
- Push the blunt needle through the fabric right at the base of the snag, coming out on the right side next to the loop.
- Catch the loop with the needle eye or the hook and draw it through to the wrong side in one movement, without forcing it.
- Turn the piece right side out and look at the puckered line. Hold the fabric on either side of it and stretch gently across the line, then along it.
- Repeat the stretch in small sections, working outward from the middle, until the tension has redistributed and the line disappears.
The stretching step is the one people skip and it is the one that does the work. You are walking the borrowed yarn back into the stitches it came from, a little at a time.
Small Holes
A hole is a different repair. The yarn has been cut or broken, so something has to be added back. For a hole a few stitches wide, a duplicate stitch, worked with a matching yarn over the path the original stitches took, rebuilds the surface almost invisibly. The trick is to follow the shape of the existing loops rather than sewing across the gap, which closes it into a pucker.
Find matching yarn where the garment already keeps some: the inside seam allowance, or the spare length that sometimes comes attached at the hem. Failing that, one shade off is far less noticeable than a pucker.
Telling Wear From Moths
Holes from wear appear where the fabric rubs, which is to say elbows, cuffs, and the underarm, and they start as thinning before they open. Moth damage appears in scattered small round holes in places nothing touches, often near the shoulders or on a folded edge that sat in storage. If the holes are scattered rather than positional, deal with the storage before you deal with the sweater.
When to Stop
A pull that has already been cut, a run that travels several inches vertically, or damage across a rib at the cuff or hem is worth handing to someone who does knit repair, because the edges are structural and a botched repair there changes how the whole piece sits. Our About Us page explains why those edges carry so much of the load, and the FAQs page covers what to do about a piece that arrived with a fault.
Thank you for shopping with us, and for keeping good knitwear in the rotation.